Wednesday, June 25, 2014

John Primble, 5371, flea amrket find, re-scale

Hey all I picked up a John Primble at a flea market, had  anice feel to it and you could tell it had been well used and cared for, plus the price was right :)

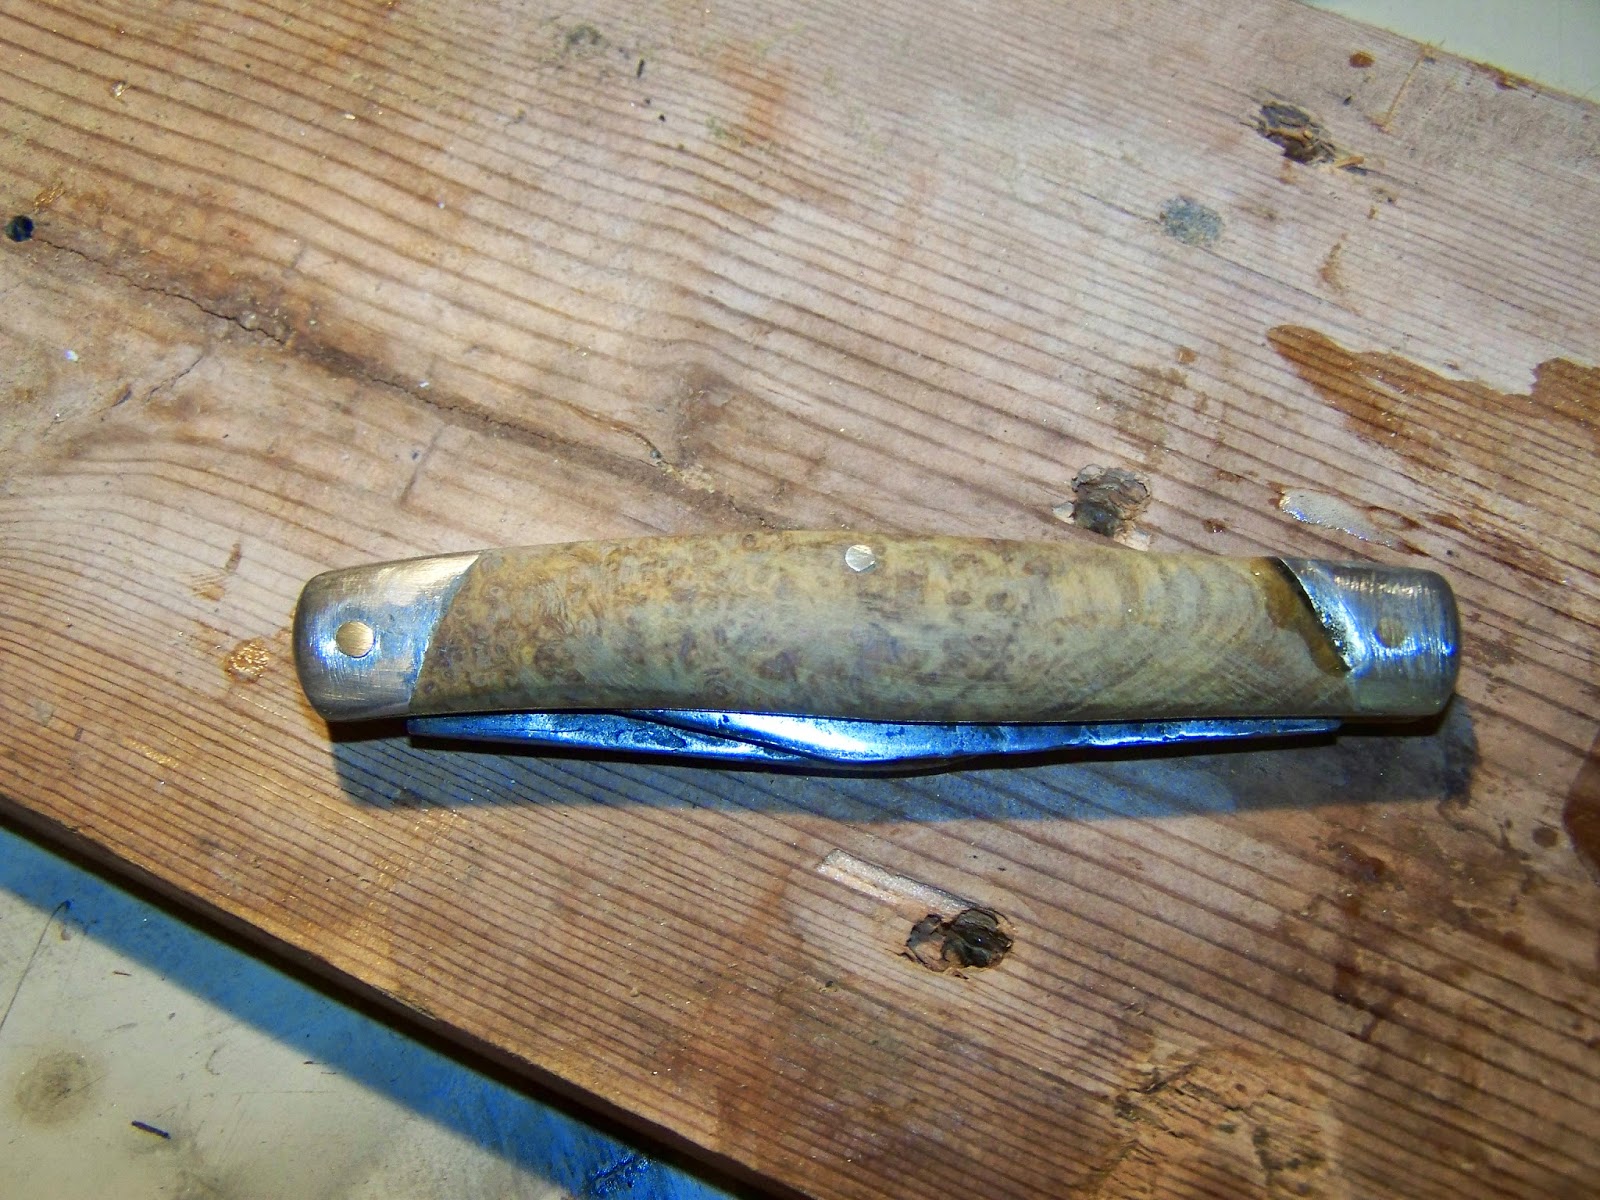
By the end it looked like this:

It started out like this:


 First thing to notice is this used to be a stock-man some has already modded into a two blade, one spring knife. I secretly suspect there is another knife-aholic playing around with these things somewhere near me using the same flea markets :) the slime frame and feel of it in hand is part of what attracted me to it in the first place. He or she did something interesting on the other side though, they replaced ne of the scales with a kind of soft-ish black plastic.


I came of in pieces I have to slice off with another knife, I suspect it was a kind of putty out can shape and let dry into place, it actually had a nice grippy feel to it.


Anyway I decided it would be my next attempt at fixing up a slip joint. As anyone who has poked around here at all will know, I'm not especially experienced in re-scaling folding knives, I've mostly done fixed, but I keep trying, this would make only my 3 successful attempt and only my second real one, because the last one was a Wenger SAK, and it didn't really count, different process altogether.


So I started by taking it apart using a utility knife blade, a soft piece of leather and a  hammer.

Step 1: Cleaning it up

When it was apart I stared by sanding down all the pieces to get ride of dust, rust and grime.

Step 2: Making scales
I used the liners to drill out the pivot and rocker pin holes
Step 3: re-bolstering

I re-attached the bolsters, (I will get a  soldering gun and do that in future FYI)

Step 4: Fit scales

Okay so I ruined the lovely walnut I had planned to use because I didn't get the fit right. Frankly the slanted bolsters on this thing were more difficult to manage using my basic hand tools then I'd planned for. (As always.) Eventually after a lot of cussing I managed to get a good enough fit with some over wood I had laying around from a previous project, it's stabilized and dyed box elder.

Step 5: Attaching scales

this should be done when the scales are fit and ready to go by most of the tutorials I've seen, but I don't have the precision tools, or close to it, that most of those guys to. okay a bad workman blames his tools, I know, but I worked my butt of in some pretty hot weather in my little wood shed and whether it's me or the tools (a coping saw FYI) we just couldn't manage such a precise cut. As happened with cutting the scales to fit the bolsters, I will likely mess the fit up and have to try again if I do\o it that way.

So I atatche dthe scales and sanded them on the bolsters, so the fit came out right, messy, lots of clean up on the bolsters which got scared, but at least I couldn't over sand. And at least I could sit get the exact contours and fit I wanted this way.

Step 6: Alignment

Yeah, I made sure all the holes lined but,. re-drilled one hole that looked off.


Step 7: Putting it together

I find I bend the pins if I try to put the tension in the spring with it only attached to one scale, so I thread both on the pins then, keeping a good gap between them, use something, like this ruler, to put the tension in the spring on both ends.

As you can see one of the bolsters fell of during this...yeah, really have to learn to solder :)

Step 8: Finish sanding and tapping pins
I finish sanded it all up to 400 grit, why not higher? because I wanted to see if there was anything left to do, which there was...of course. I knew I was running ahead but I was too excited that this looked like it might work.

I spread the ends of the pins using the back of my vice as a back plate, then sanded everythign down to a finished, level, standard.


Then took sand paper from 100, to 220, to 320, to 400 all over the hole thing.


Before pictures again


After pictures


I still didn't get a perfect fit on these scales, had to glue and wood dust one gap:

One the whole however I'm very happy, it rides like a nice edc, has a better snap and pull, and is all clean and stuff inside and out. Plus, while it's not walnut (shaking fist) it is a nice looking wood in the end.

Happy to get number 2 under the belt, lost left still to learn, and hopefully I'll do better next time.

FYI, gloves, safety goggles and a face mask saved my butt more then one on this project alone, wear safety equipment, the end.

thanks for looking, if you did, and if you didn't you're a git :p

Tuesday, May 6, 2014

Boker Barlow that came witha story: Cleaning it up

So I was at my favorite Flea Market the other day and  new (I think he's new because I hadn't met him before) knife vendor was setting out some knives in the glass case up front, I spotted an Boker Barlow in his hand and thought it might be worth a  look.

Anyway he had a very reasonable price on it and I got to talking to him and he told me the Barlow came with a story. 

He was hunting in Ohio, Muhlenberg county, and found a gut pile from where someone had cleaned out their kill. Stopped for a moment and something caught his eye, kicking over a...something or other..he found this Barlow sticking out a tree root. Someone had used it to gut the deer and forgot it.

I feel bad for the person who lost it but hope that they may either not have cared much, or at least been happy it found it's way back into someones hand again. It makes me feel better about benefiting from someones loss at least.

Here's what it looked like when I got it:

You could open and close the blades with effort, but they didn't go all the way in either direction, you could see the blood stains and an unfortunate case of rust here and there inside the knife. 
Both blades have half stops and a good amount of them left too boot! The edge, though mared by time and the elements had been well honed and cared for before lost. it had been very sharp when lost.

A little time, a lot of WD40 and some 600 grit sand paper later:

I couldn't stop humming the few lines I know of the song by John Prine "Paradise" without really realizing I was doing it till near the end:

"And daddy won't you take me back to Muhlenberg County
Down by the Green River where Paradise lay
Well, I'm sorry my son, but you're too late in asking
Mister Peabody's coal train has hauled it away"

Fair to say we've struck up a strong bond already. And I think this red bone came up really nicely.
 I can't get all the patina off without losing some of the steel but i also like to leave as much fot heir age on them as I can, I kinda like the look.


Anywho, guess I'll finish with some pictures of it as an edc:


Thanks for looking :)

Monday, April 21, 2014

Lanyard beads, 3 at a time

Never make one at a time, I try to do at least three.

For one things it's a lot of set up to do one bead. Also out of three I can normally always expect to uncover a fault or void in one, screw up the second, and hope the third comes out alright. :)


Wednesday, April 16, 2014

How I tie Lanyards on Smaller knives


Thought I'd do a  brief explanation on how I tie the lanyards on the pocket knives, this works for all knives IMO but it's great on smaller ones because it gives you a little extra handle.


And here are some written instructions with pictures of the same thing:

First you start with a piece of leather thong, even or uneven, so long as it fits through your lanyard tube.


Thread the leather through the lanyard tube but leave one side longer then the other. The short side should be about as long as you want the lanyard.


Then take a pen or any other tube object, like a  fire steel in this example, and hold it against the two lines of leather. (Psst:  it's best to put the knife in it's sheath or cover the blade some way so you don't accidentally cut yourself.)


Starting from the top wrap the longer end of the leather thong around the tube (firesteel) ad the other end of the leather

You can wrap it as many times as you like, I normally aim for between 5 to 7.


Then pull out your tube (firesteel) to create a void.


While holding the tension on the coil with your one hand, feed the longer end of the leather back through the middle of the coil.


Make sure you push it through the first revolution as well, hen pull it tight, carefully, while keeping the tension on the spring as it tightens.


Next pinch the top (furthest away from the knife) of the coil and begin to tighten the lanyard by working the excess leather down the coil.


Do this until the lanyard is as tight, even and good looking as you want it.


Trim the ends of the leather ends (cut them at an angle for a more finished look) and then your done.

The coil will still slide up and down for various different purposes but it won't move easily or by accident, it also helps provide that little extra handle for a small knife.

I hope this helps,

thanks

Saturday, April 5, 2014

Re-Using broken knife parts

 hey all,

I have a number of broken and overused folding knives and have been playing with them (as the "Pictures of current goings on" post may indicate) trying to find a use I can put them to.

Anyway, here's what I came out with last night, it is a Camilus 15 blade and an old Hammer brand bottle opener from a Hammer jack knife. i used an two Antler tips to give them some more life, hopefully, and went ahead and made them a backpocket sheath since they came out looking like a matching pair.


I gave both sides a welt

Both are epoxied and held in by brass pins that I penned

Camillus Blade

Hammer brand bottle opener


Anyway, thanks for looking,