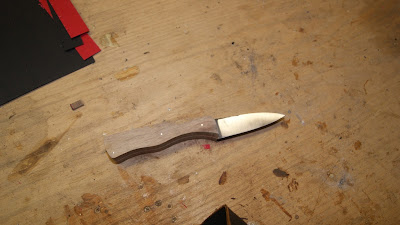
New project, a very nice wharncliff knife
This one is to have layered black and red liners and walnut dymonwood
First step was to cut the liners to shape and epoxy the whole scale together
 |
| Clamped between some wood blocks |
I then trimmed the excess liner material and sanded the scales down even, liners look nice I think, then cut it into two scales
Next up is drilling the pin holes, 4 slots for 1/16" aluminum pins
Now I rough cut and sand the scales down to shape
I've sanded them smooth on the edges. Now I just have to sand the front of the scales to how I want them and they'll be ready to attach to the scales for shaping. But for now I have to take a break, my son and I are camping out with the boy scouts tonight.
More to follow
Okay so I finished attaching the scales last night unfortunately i finished so late that I can't work them yet (2pm est) so I'll have to leave them till late again. pictures aren't
too much to look at I'm afraid, just the knife clamped with all the parts in place.
Here it is all ready to go...
Clean up the edges
Start to shape it on the belt sander
Now because this is to have contours I switch to hand sanding a lot earlier, which takes time and a willingness to make friends with a lot of sand paper
I lock it in a vice to hand sand it
coming together
cleaning up the details
Ta Dar! I skipped some steps, I stayed up late finished this one and it's quicker without having to stop to take pictures.
If it's not comfy as heck it can be sent back to me and I'll fix that.
It's packed up and ready to ship out today.
Thanks all


No comments:
Post a Comment