Thursday, April 23, 2015

Damascus wharncliff in Osage

Before:

Cutting cord wrap off.
 Starting to drill pin holes (have to be very careful, the 3/16" pin holes aren't my usual fare so I have to make some stock fit and the Osage only just fits the height of the blade so I can't miss by a mm.

Okay, been dragging heels on this one to long, time to get a  move on. I thick I figured out the pin hole questions, the hole measures between 3/6 and 1/4", which would be almost exactly 5mm...never even occurred to me to think in mm's.

So I reemed out the 3/16 hole and worked the pins to fit, I'll plan to do a little peening as well to be sure.

Also turns out my last osage isn't flush/flat on any side...some more work required there.

I've actually got all that done now, Stopping to get some pictures before securing the scales to the knife and get some sleep...also shaping the scales how we want them which is also an interesting question given the shape of the knife and the lack of pin holes at the ricasso...some thought required there to.

time to get the camera.

*Sorry, busy couple of days, but here are those pictures I took

All ready to shape
 ROugh cuts
 sizing it up

 some extra insurance on that unsecured front end, the epoxy can act as a "sorta" pin on the inside of the scales as it expands to fill in these gaps I drilled.
 All sured up, and put to bed for a long sure before shaping.
Still pretty after 48 hours of waiting
 by pretty I mean...not pretty at all
 starting to shape up
 losing the Damascus etch as expected
 this deep ricasso/choil'y thing will need hand sanding down.
 To work!
 getting their
Feel like I'm dragging my fee ton this one but every time I start working I just get the impression this would be a very easy knife to make an un-correctable silly mistake on so I slow down. It's a very nice knife!

This Osage is pretty to :)

It's time to move on to the sheath...which I have to break out my (poor) drawing skills for, I don't have very expensive or sophisticated leather tools, because I'm don't do very sophisticated sheaths, but I will come up with something.

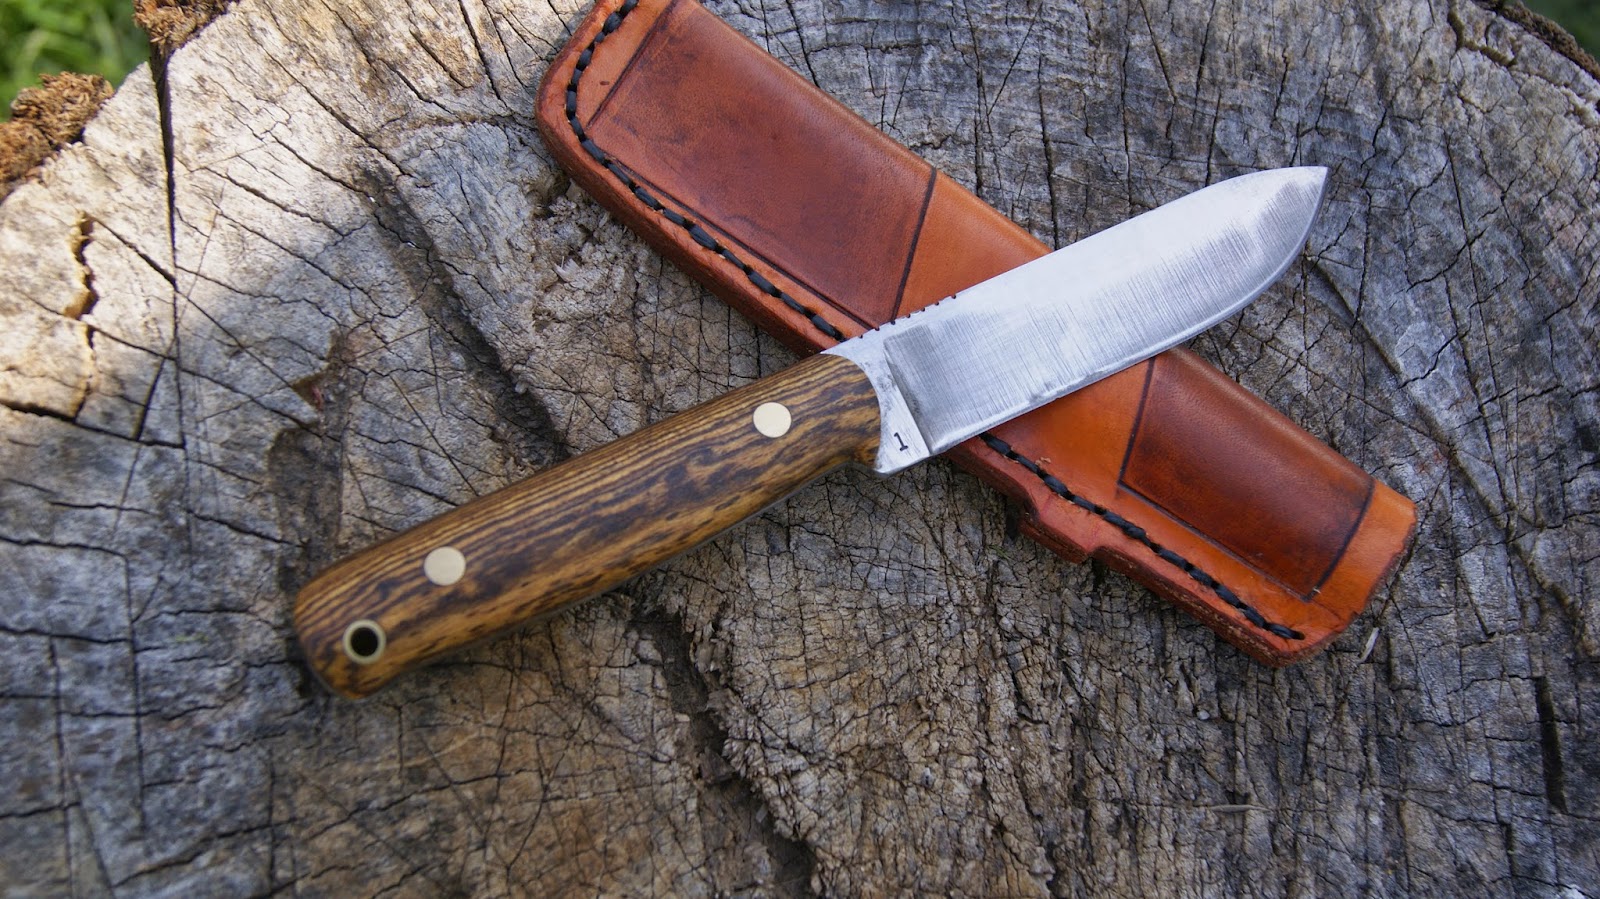
I don't like to post a  lot of finished knife pictures until i have it all ready and the right light, i like that first impression to be a good one, bu I have a progress picture at least and you can see it curing in the background of the picture of the leather and stamps:)


ta dar ;)


 It's a real tight "choily thing" and it was hard to sand in there, ended up nicking it and din't realize until I'd finished, it's smooth and comfortable, remains to be seen if the owner feels the same way, i can strip it back down and start again.
DOH!

 Okay so I tried a "tree of life" type pattern, my wife's given me some pointer (shes the artistic one" and I'm going to add some more detail and hopefully it'll be even better, I'm really happy with it, tried some different dying techniques with the two different dyes for the "effect" but ascetics is a personal thing.

Working on it:


Finished:


 Fits! :p


Sunday, April 19, 2015

JK Tool and sheath

So I was looking to try something new with sheaths and this tool I handled happens to need one.

I played around with using two dyes on one sheath and decided to sow in a more complex bit (you can see it in the stitching where the knife tip would be)

I also went ahead and went sans belt loop (really prefer that) but made a piece that matches so I can wear it on my belt as well. I've been using a similar set up for hatchets for a while but never for a knife sheath.

Figured it makes sense the number of times I have to take a knife off my belt (normally i just have to leave the sheath on and drop the knife in a bag or something) when i'm getting in a car, sitting down of any kind or going in to a building for a "No Weapons" sign posted.

Here's some pictures