By the end it looked like this:


First thing to notice is this used to
be a stock-man some has already modded into a two blade, one spring knife. I secretly
suspect there is another knife-aholic playing around with these things
somewhere near me using the same flea markets :) the slime frame and feel of it
in hand is part of what attracted me to it in the first place. He or she did
something interesting on the other side though, they replaced ne of the scales with
a kind of soft-ish black plastic.

I came of in pieces I have to slice off with another knife, I suspect it was a kind of putty out can shape and let dry into place, it actually had a nice grippy feel to it.
Anyway I decided it would be my next
attempt at fixing up a slip joint. As anyone who has poked around here at all
will know, I'm not especially experienced in re-scaling folding knives, I've
mostly done fixed, but I keep trying, this would make only my 3 successful
attempt and only my second real one, because the last one was a Wenger SAK, and
it didn't really count, different process altogether.
So I started by taking it apart using a utility knife blade, a soft piece of leather and a hammer.
Step 1: Cleaning it up
When it was apart I stared by sanding down all the pieces to get ride of dust, rust and grime.

Step 2: Making scales
I used the liners to drill out the pivot and rocker pin holes

I re-attached the bolsters, (I will get a soldering gun and do that in future FYI)

Step 4: Fit scales
Okay so I ruined the lovely walnut I had planned to use because I didn't get the fit right. Frankly the slanted bolsters on this thing were more difficult to manage using my basic hand tools then I'd planned for. (As always.) Eventually after a lot of cussing I managed to get a good enough fit with some over wood I had laying around from a previous project, it's stabilized and dyed box elder.

Step 5: Attaching scales
this should be done when the scales are fit and ready to go by most of the tutorials I've seen, but I don't have the precision tools, or close to it, that most of those guys to. okay a bad workman blames his tools, I know, but I worked my butt of in some pretty hot weather in my little wood shed and whether it's me or the tools (a coping saw FYI) we just couldn't manage such a precise cut. As happened with cutting the scales to fit the bolsters, I will likely mess the fit up and have to try again if I do\o it that way.
So I atatche dthe scales and sanded them on the bolsters, so the fit came out right, messy, lots of clean up on the bolsters which got scared, but at least I couldn't over sand. And at least I could sit get the exact contours and fit I wanted this way.

Step 6: Alignment
Yeah, I made sure all the holes lined but,. re-drilled one hole that looked off.


Step 7: Putting it together
I find I bend the pins if I try to put the tension in the spring with it only attached to one scale, so I thread both on the pins then, keeping a good gap between them, use something, like this ruler, to put the tension in the spring on both ends.

As you can see one of the bolsters fell of during this...yeah, really have to learn to solder :)
Step 8: Finish sanding and tapping pins
I finish sanded it all up to 400 grit, why not higher? because I wanted to see if there was anything left to do, which there was...of course. I knew I was running ahead but I was too excited that this looked like it might work.
I spread the ends of the pins using the back of my vice as a back plate, then sanded everythign down to a finished, level, standard.

Then took sand paper from 100, to 220, to 320, to 400 all over the hole thing.

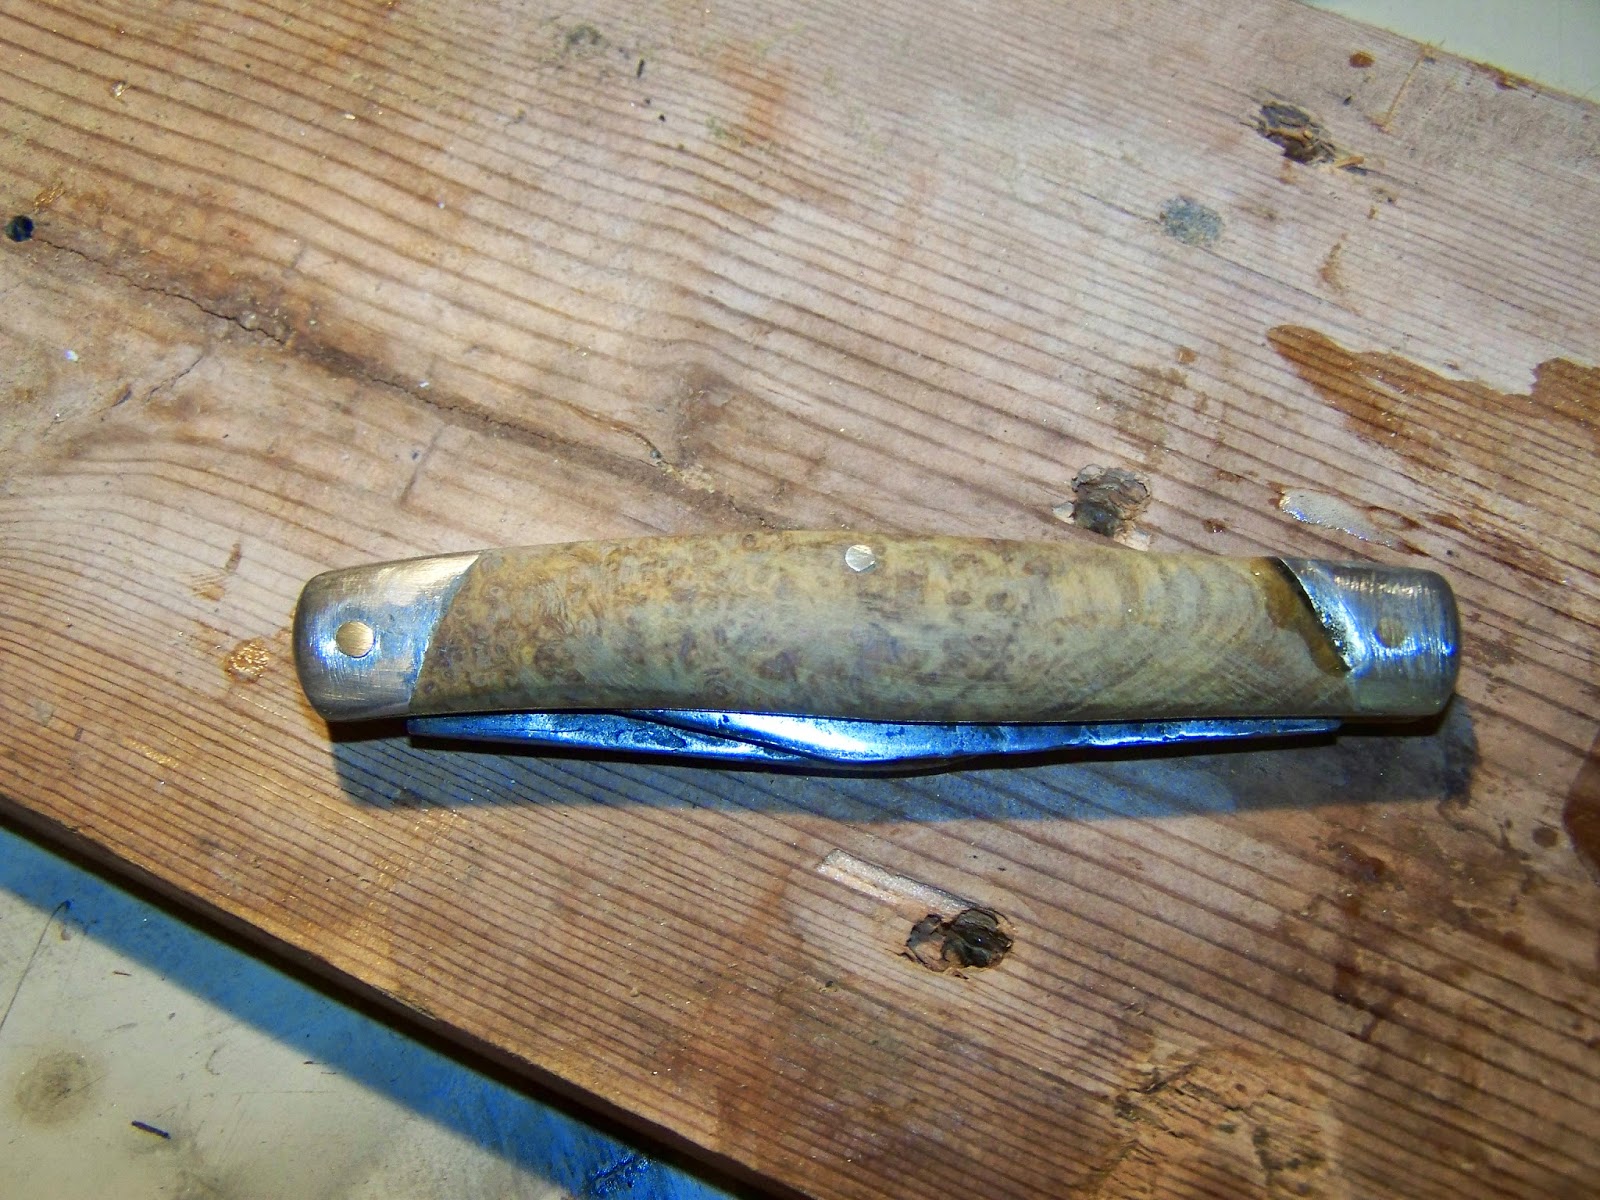
Before pictures again


After pictures


One the whole however I'm very happy, it rides like a nice edc, has a better snap and pull, and is all clean and stuff inside and out. Plus, while it's not walnut (shaking fist) it is a nice looking wood in the end.
Happy to get number 2 under the belt, lost left still to learn, and hopefully I'll do better next time.
FYI, gloves, safety goggles and a face mask saved my butt more then one on this project alone, wear safety equipment, the end.
thanks for looking, if you did, and if you didn't you're a git :p
No comments:
Post a Comment